
How to Propagate a ZZ Plant
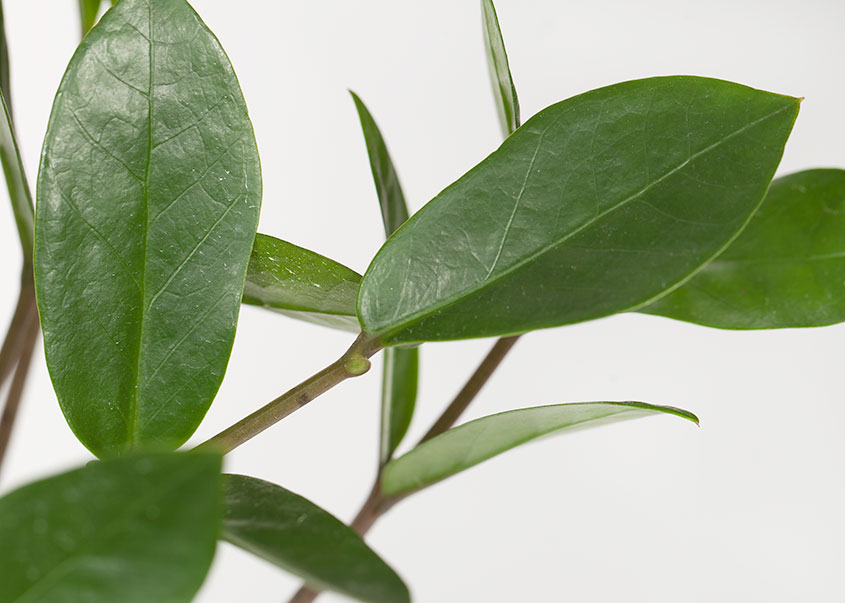
The humble ZZ Plant, Zamioculcas zamiifolia, is one of the easiest houseplants for beginners. It can live in all light levels, barely needs any water, and grows pretty quickly so you can enjoy seeing its new leaves unfold! As your ZZ Plant grows, you may wonder when to repot it. Or you might accidentally knock off a stem or leaf and want to save it and propagate a new plant. This blog is all about how to propagate your ZZ plant through a leaf cutting or a stem cutting.
All About That Rhizome
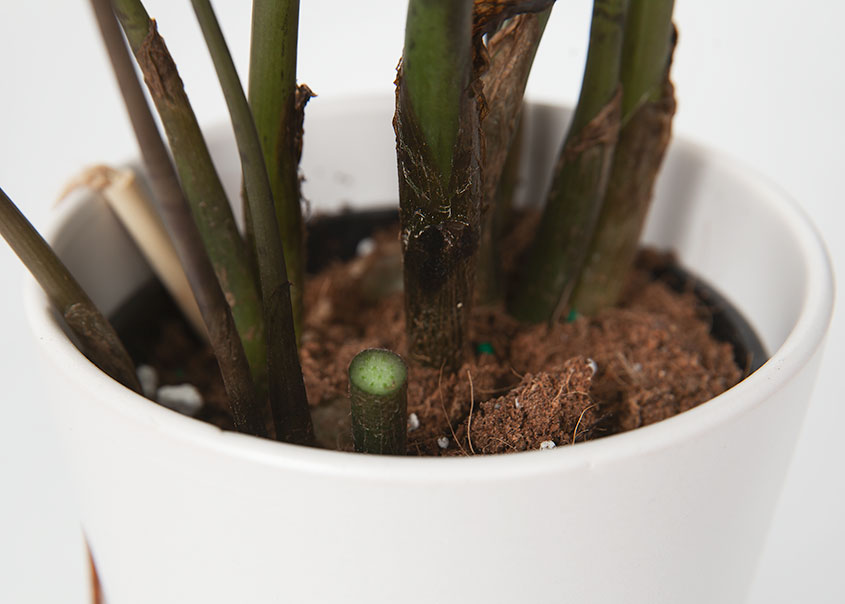
The reason ZZ Plants don’t need watered very frequently is because they retain water in their rhizomes, which look like little bulbous potatoes under the dirt. You may be able to see rhizomes peeking up out of the soil at the base of your plant. When you take a cutting of your ZZ Plant, it will grow a new rhizome and roots.
It’s actually pretty cool, and it’s a great experiment to do with kids because they can clearly see the new growth happening.
Stem Cuttings
A stem cutting of a ZZ Plant is going to yield faster results for propagation. Here’s how to propagate a ZZ Plant cutting:
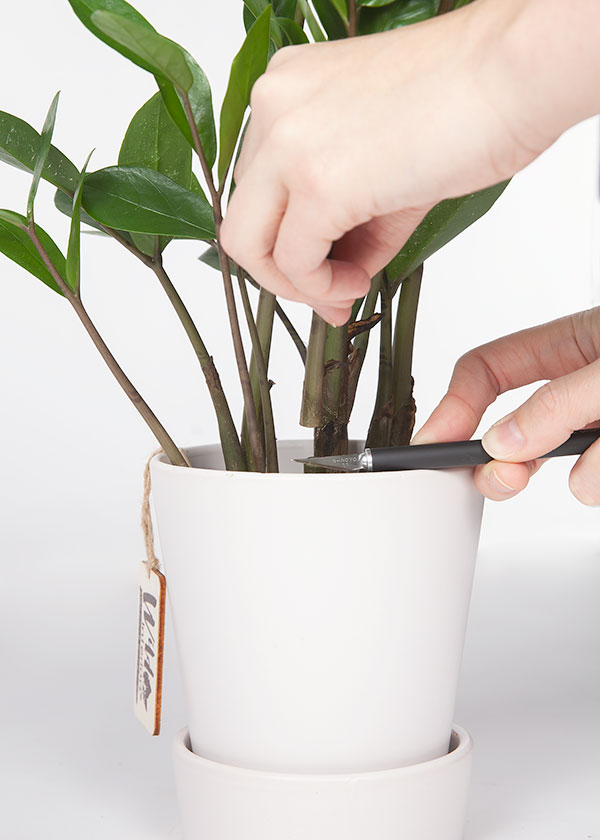
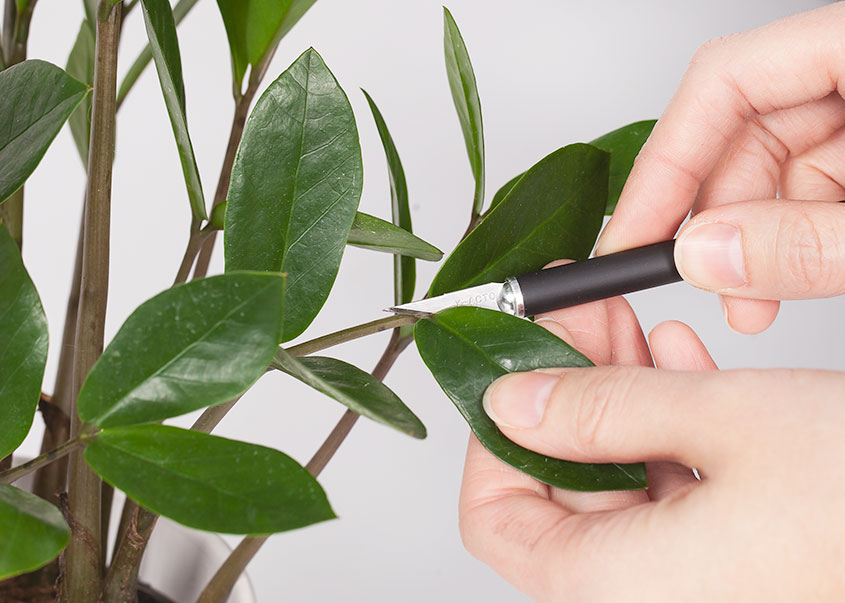
Cut off a stalk at the base of your plant, making a straight cut with a sanitized knife.
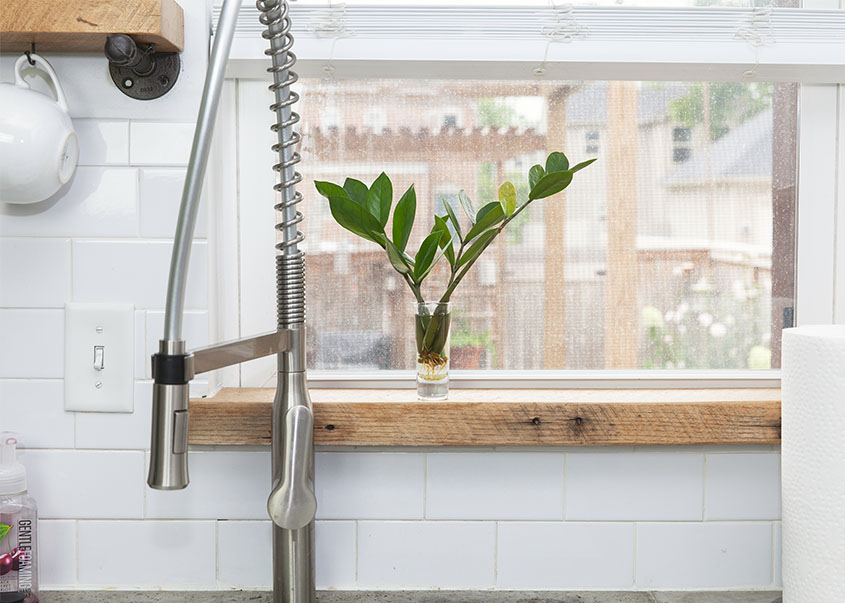
Place the cut stem in water, and change out the water every 3-4 weeks. If you forget, it’s fine, as long as there’s no mold growing.
Keep the cutting near a window where it can receive bright, indirect light. Sunlight is the best way to encourage your ZZ cutting to grow.
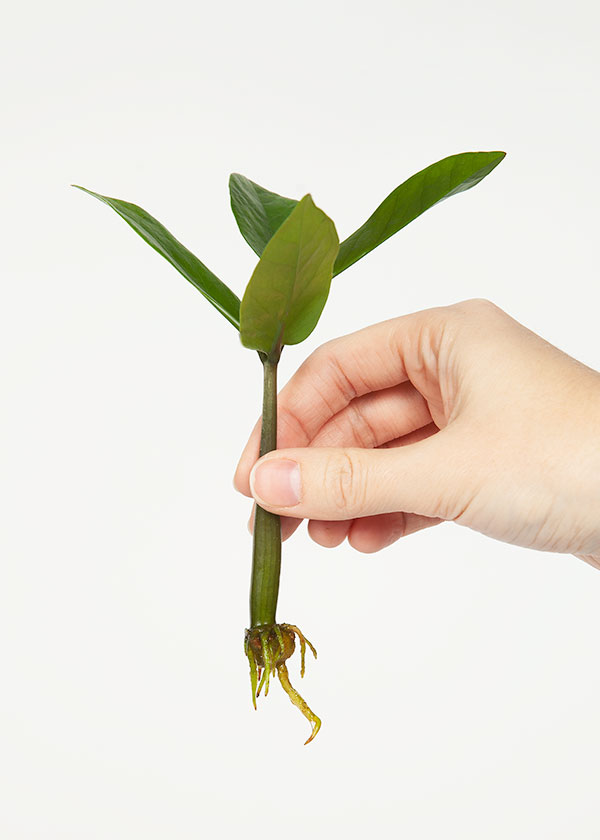
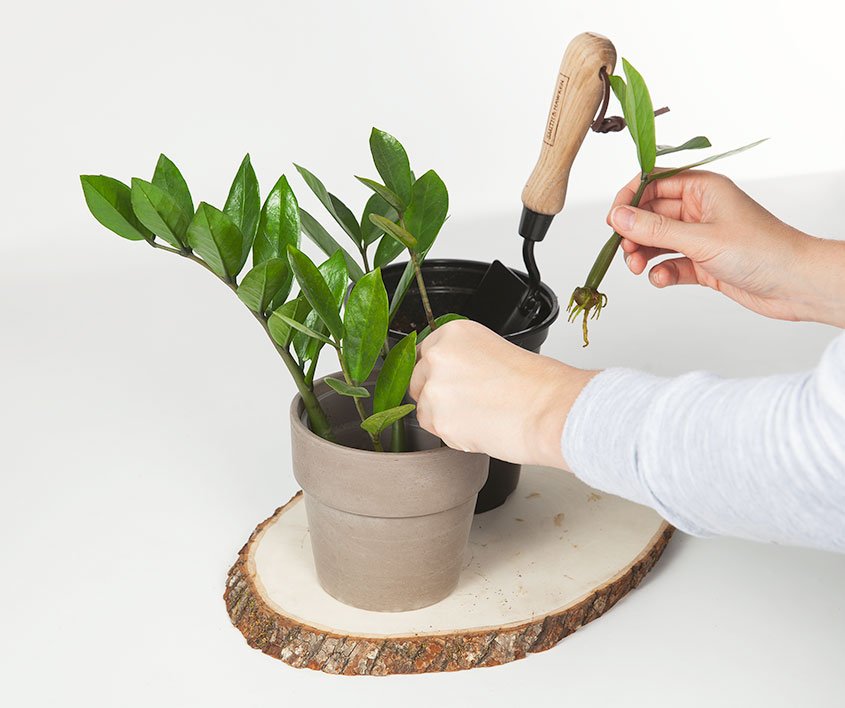
When your cutting has grown a rhizome and at least one inch of new roots, it’s time to repot!


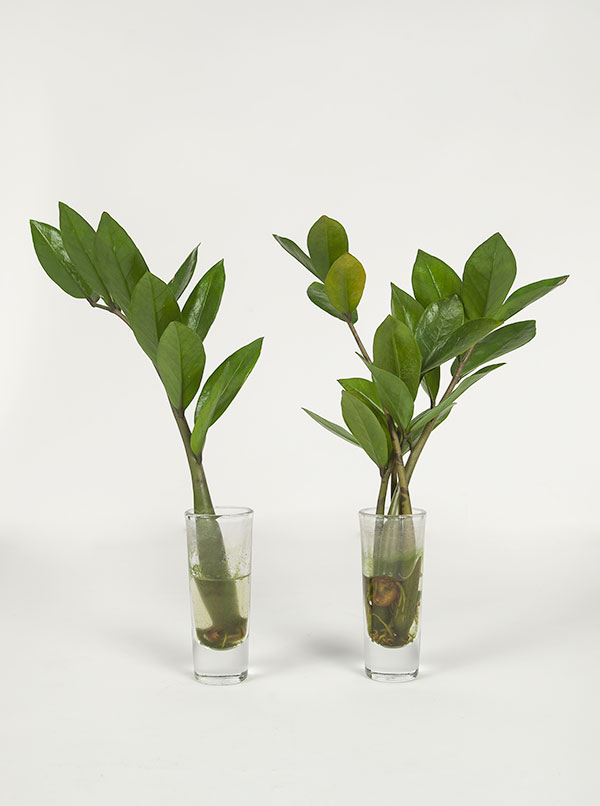

The stem cuttings we used for this example are three months old.
When it’s time to repot, here’s how to do it:
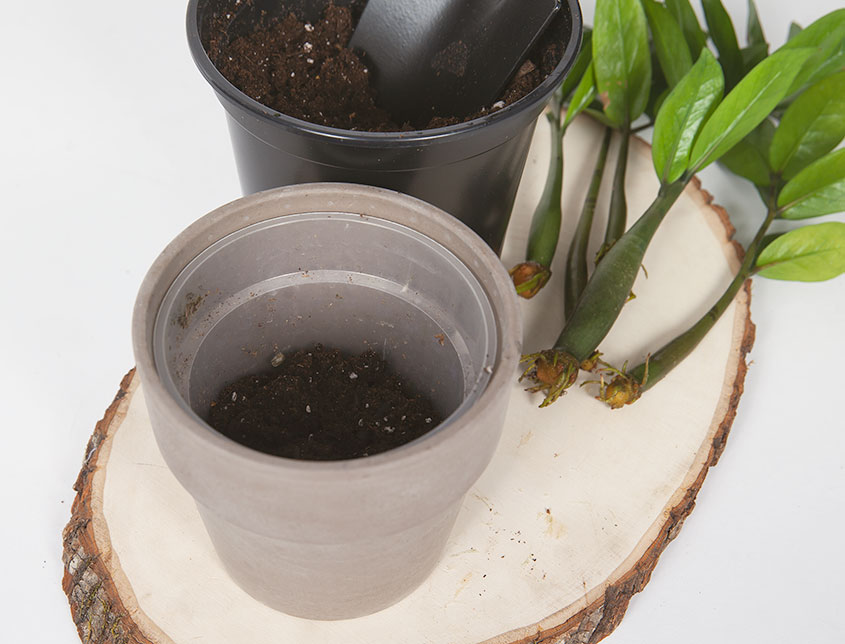
Drainage is important! Use a nursery pot or grower pot with drain holes at the bottom, or use a pot with a drain hole and saucer. Check out this blog to learn more about why drainage is important for your indoor plants.
Put about two inches of potting soil into the grower pot. This two inch buffer gives your plant’s roots room to grow before it needs repotted again. Knowing how to choose the best potting soil for your houseplants will allow for optimal plant growth and health.
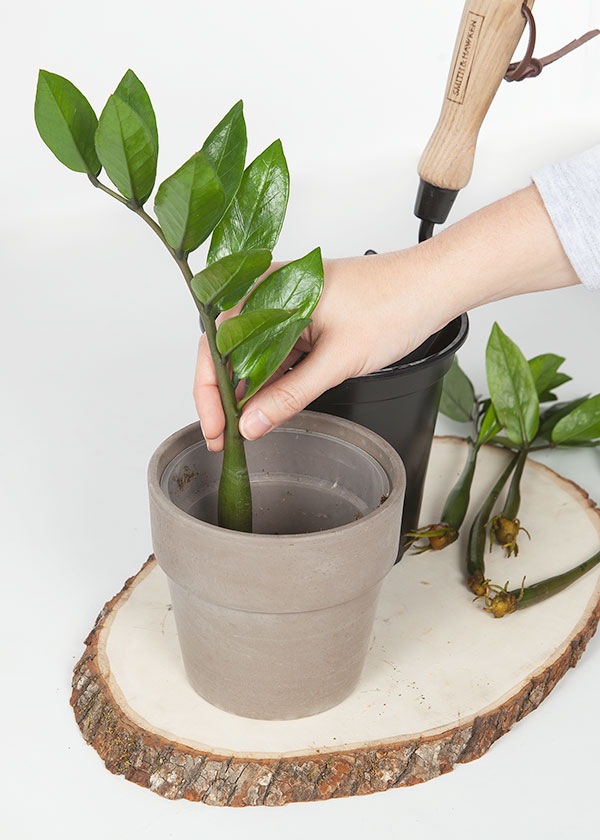
Place the rooted cuttings into the pot, pressing softly into the soil. You can put multiple stems in the same pot to make it look more like the original plant you purchased from the store.
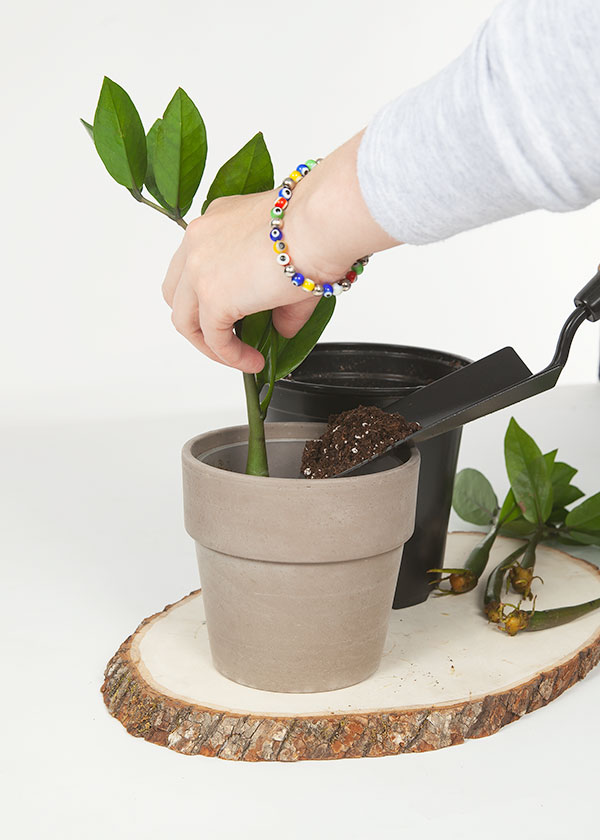
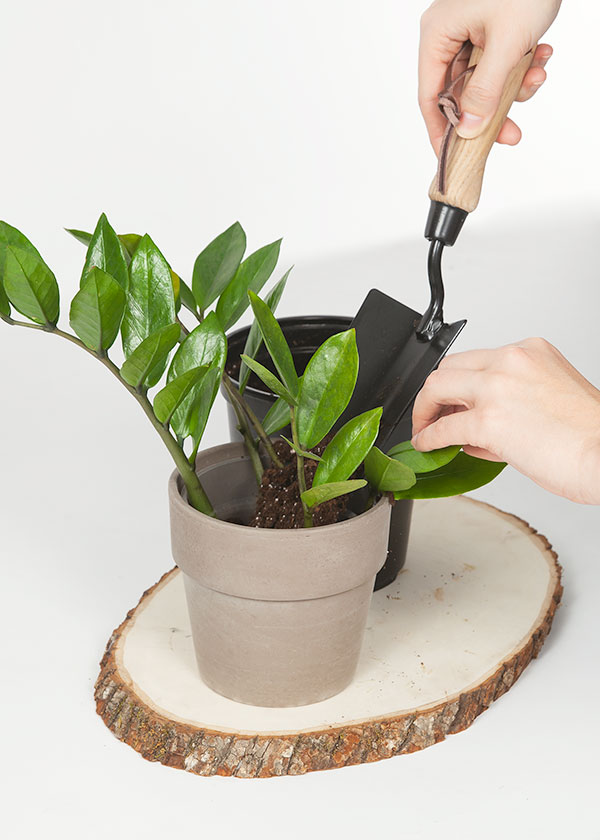
Put a little more soil around each stem for support.
Fill in the pot with soil when all stems have been placed, not quite up to the rim of the grower pot.
Water thoroughly. Run the stream of water around the circumference of the pot and then add a line through the middle across the diameter, to ensure even watering for all of the roots.

Leaf Cuttings
Leaf cuttings will take longer to develop a rhizome and roots, but you can still propagate your ZZ Plant with a leaf cutting.
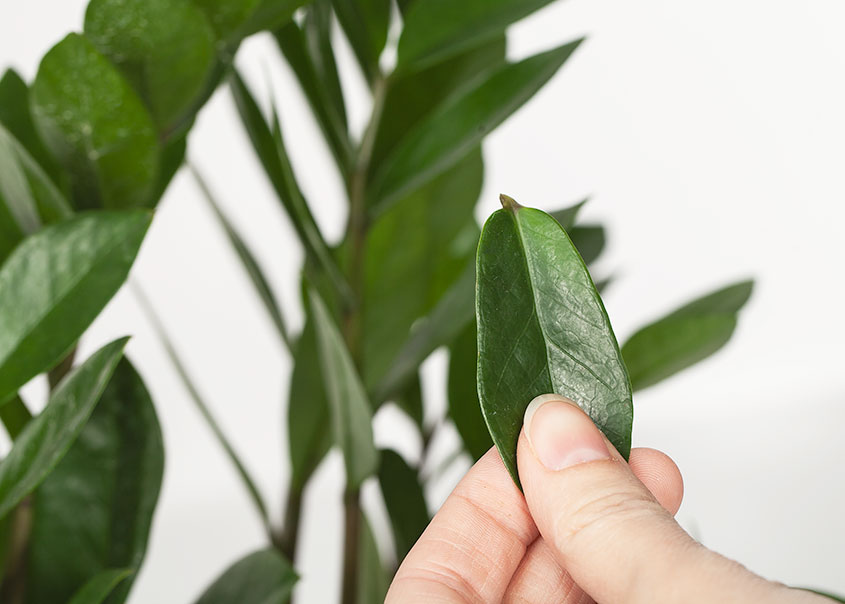
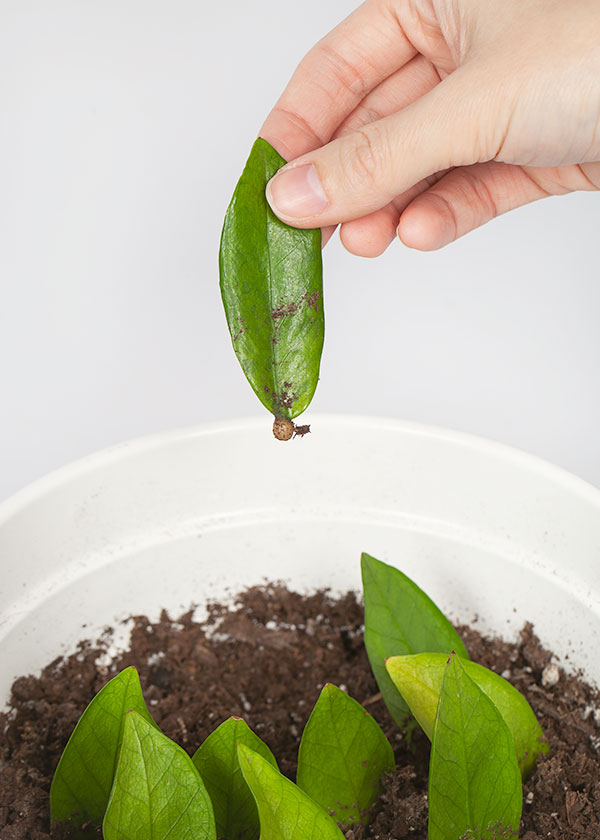
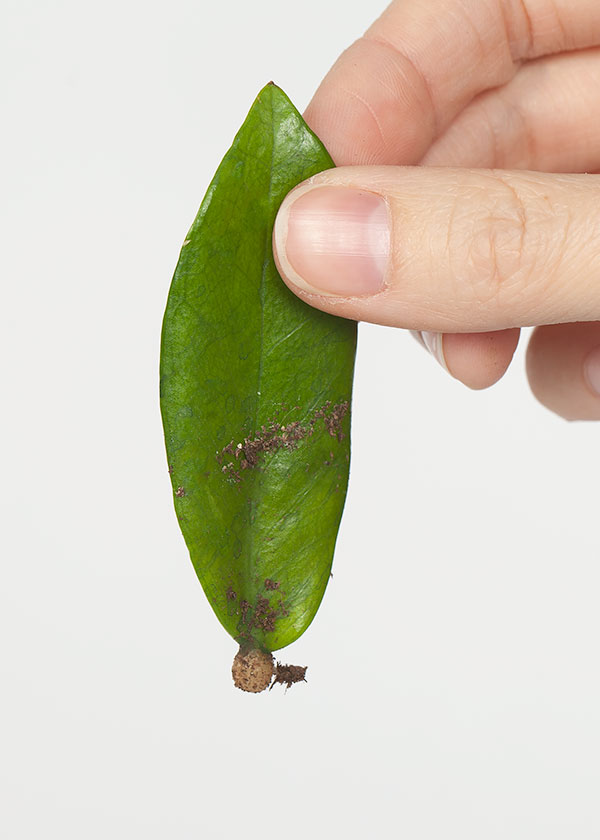
Cut off a leaf as close to the stalk as possible, taking a little bit of the stem with it.
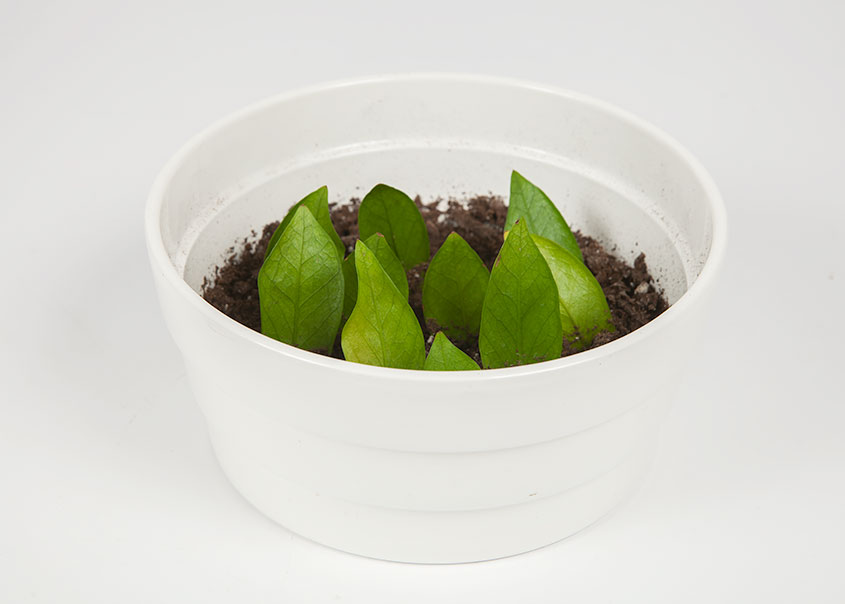
Place the leaf’s stem into potting mix, about 1 cm deep.
You probably want to take multiple leaf cuttings, because one single leaf in a pot is going to look considerably sad.
Water the pot of leaves and let it soak in. Water again when the soil is dry, about every two weeks.
After the three months these leaves were propagating, we checked them and saw little baby rhizomes growing!
Got Propagation?
Are you ready to get propagating? Check out our tips on how to care for and propagate a spider plant, as well. Before you know it, you’ll have a bunch of spider plant and ZZ babies!
Don’t forget to sign up for our new Wild Interiors newsletter for behind the scenes info, tips on which plants will be in stores soon, and more. When you sign up, you can download some printable bullet journal pages that help you track your self-care and your plant care!
This blog was originally published in May 2019 and has been updated for more resources and details to help you propagate your ZZ plant.